Post by Evangeline Kane on Dec 26, 2012 13:34:13 GMT -5
What I use:
- Photoshop CS5
- Aomori's Hair Brushes
- Kaleeko's Warm Color Pop Up-Action
I have learned editing by watching several different tutorials (including Kaleeko's background blurring tutorial).
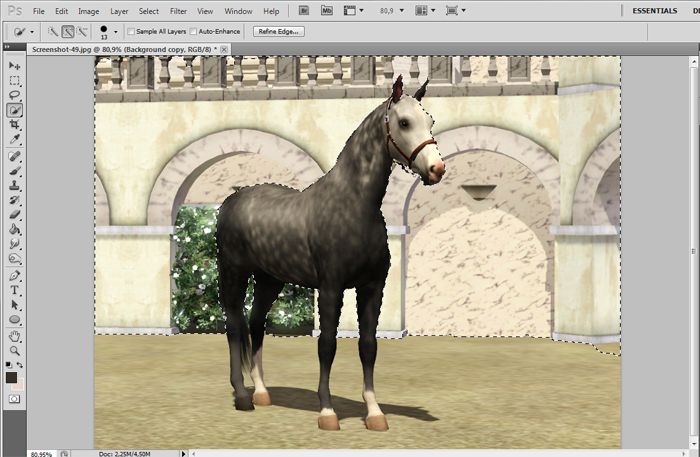
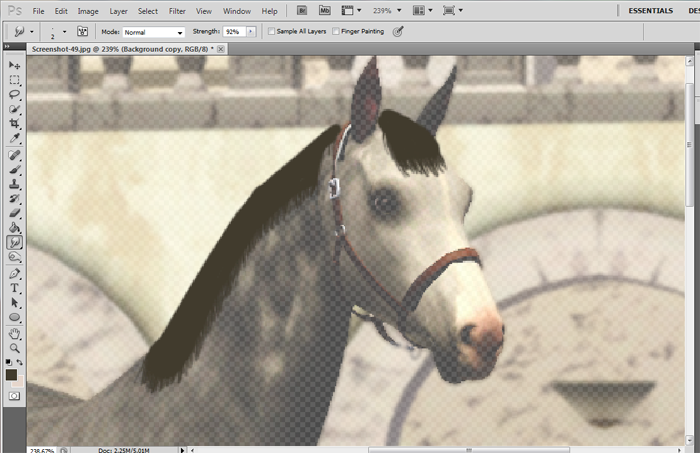
Step 1 Open up the screenshot in Photoshop, do not change the size, it's easier to work on details when it's still large. Save the size changing to last thing before saving, after all the editing.
***
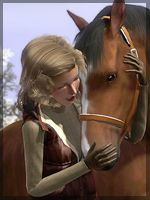
Step 2 - Blurring Use the Quick Selection Tool to outline the area behind the horse.
When the wanted area is selected, go to Filter > Blur > Gaussian Blur. The further the background is, the more you blur. On this photo I used 1,2 pixels.
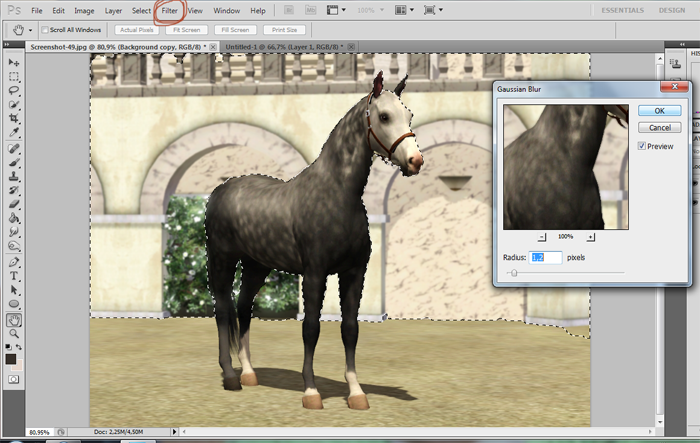
If you missed some spots on the background, use the blurring brush (Blur Tool) to fix them after you've unselected the area (I usually always miss some spots >.<).
Here's what it looks like after blurring:
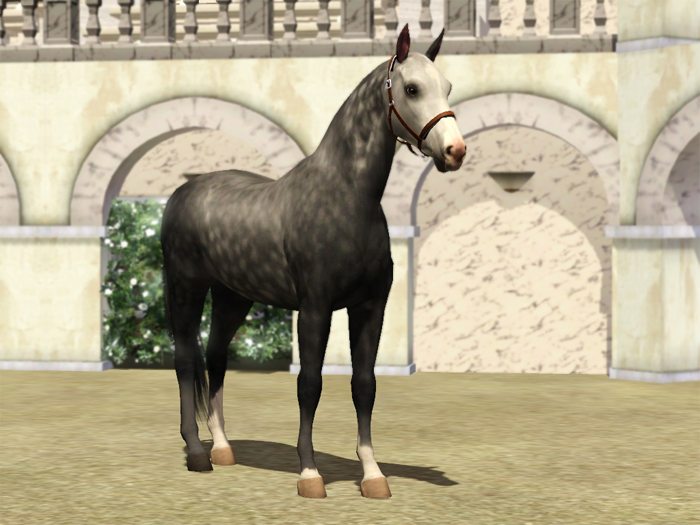
***
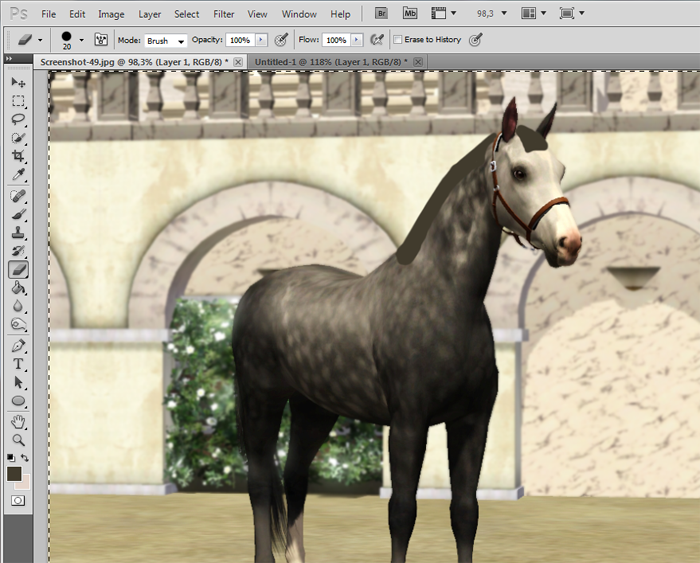
Step 3 - Mane & Tail This thing needs some practise and there's a huge difference if you have a tablet but this'll work with a mouse too. It might not be that good though (at least for me...).
Braided mane is a lot easier to do but I'll show how to draw unbraided mane.
First use the Eyedropper Tool to choose color from the tail. It shouldn't be pitch black, otherwise you can't use the dodging and burning you need later on.
Add a new Layer, then start drawing the mane and tail. Very roughly at first with a rougher brush. I actually used mouse at this point, holding shift while drawing with a mouse helps, you can draw straight lines while holding it. I used the mouse when doing this tutorial.
Then I choose the Smudge tool. The brush I used for this is the first softer round brush, size is 2, Strenght about 90 (in this I had 92% and I used the mouse).
Smudge some strands from the rough mane you just drew. Here's an example. If you want to see the strands of hair better, you can set the lower layer's transparency lower for a while.
If the strands are too rough, you can blur them a bit but too it carefully.
When you're happy with the mane, choose Burn Tool and change the brush to Aomori's brush number 3. The size depends on the screenshot but on this I used size 27. Burn Tool's strength is 100% on darker manes like this.
Start burning strokes on the mane, the strokes should go to the same direction as the mane.
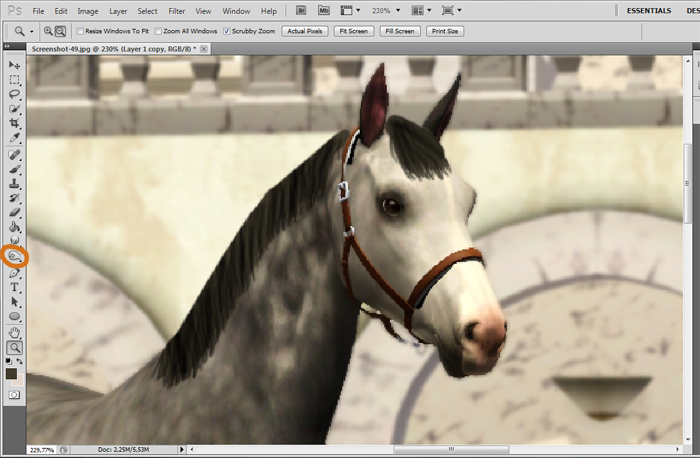
After this choose the Dodge Tool. Same brush and brush size but the strength is 100% (might be lower on lighter manes). Do the same thing with the dodge tool.
Choose the Burn Tool again, but change the brush to Photoshop's own, first softer brush, the size I used was about 23, exposure 100%.
Use it on the roots of the mane like this.
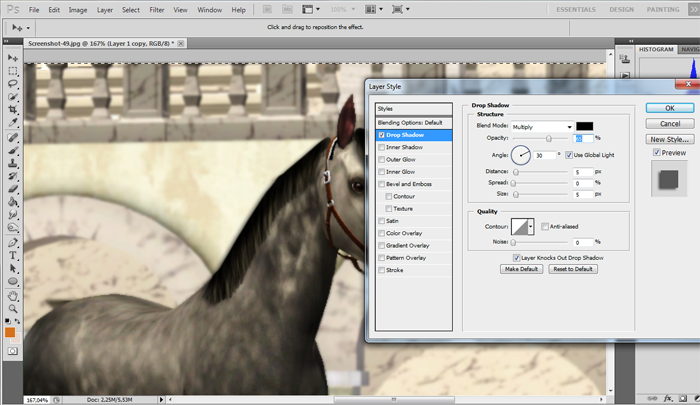
After this, go to Layer > Layer Style > Blending Options and tick and click the drop shadow box and lower the Opacity percent to 65%.
***
Step 4 - Eye Shine First, create a new layer. Choose a light grey color and draw a wide spot on the top of the eye. Set the transparency to 65% (amount depends on the screenshot). I have the default eye replacement so I don't need this but after this you can add a new layer and draw a small white spot on the highest part of the eye. Transparency might not have to be changed at all.
***
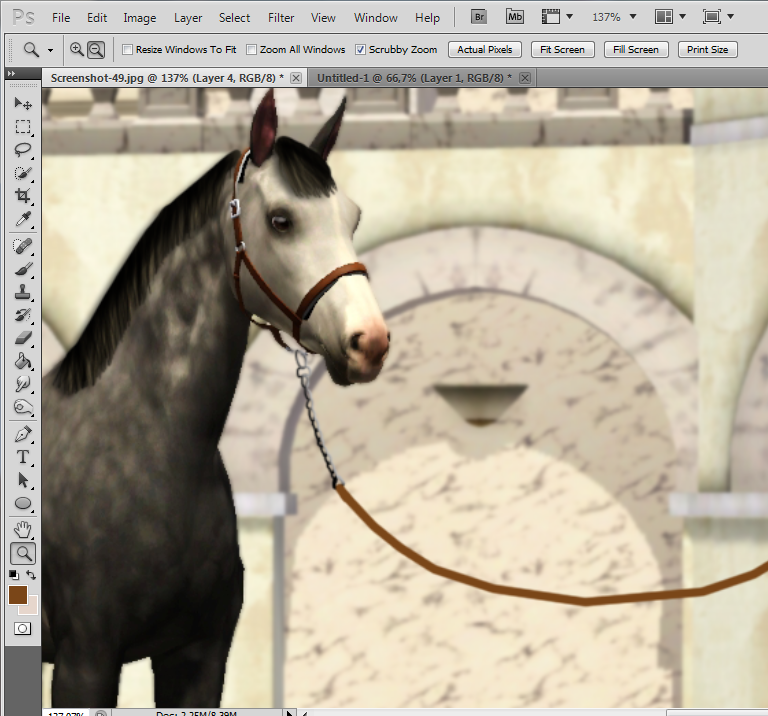
Step 5 - Leadrope Again, create a new layer. Start drawing the metal parts of the halter, the color doesn't matter.
After this is done, go to Layer > Layer Style > Blending Options.
Tick Gradient Overlay-box, Then Bevel & Emboss + Contour boxes. Use Inner Shadow if necessary.
Create A new layer and choose the color of the leadrope. I chose lighter brown. Draw the rope and if you're using the mouse, it's a good idea to use the shift-button again.
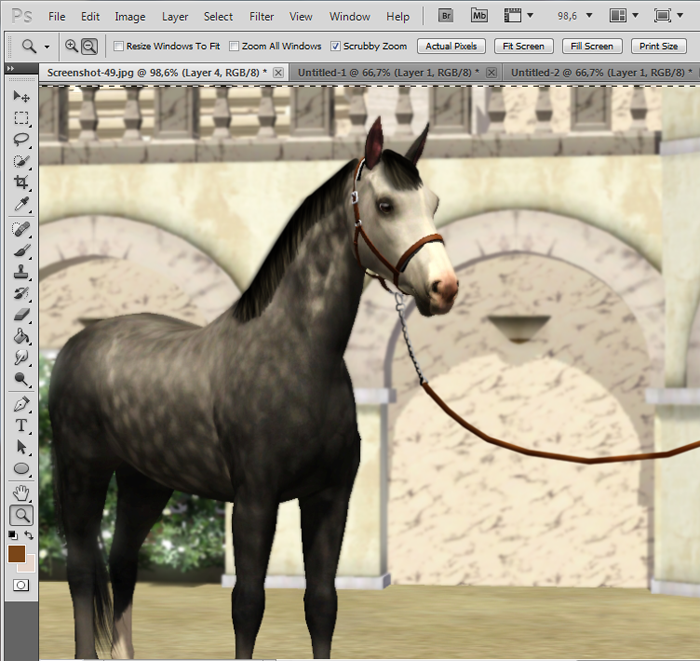
After this, choose the Burn Tool (with the soft round brush again) and draw shadows to the rope. After that, use the Dodge Tool on highest part of the rope.
Shadows: Don't forget to add the shadow to the leadrope too (like I did). Just add a new layer and draw a similar black line to the horse's shadow. Then change the layer transparency till it matches the horse's shadow.
***
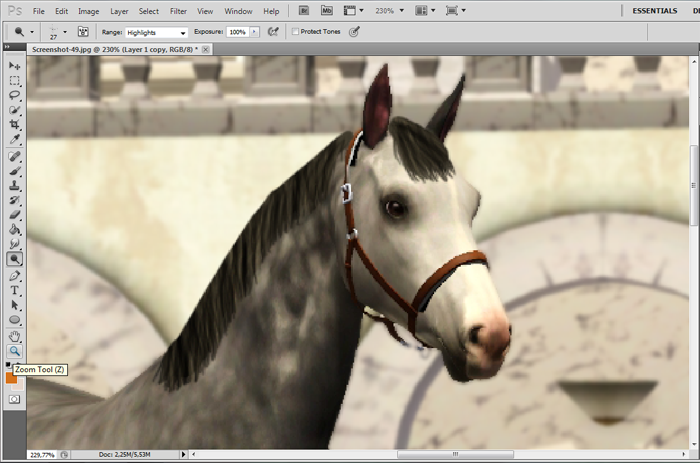
Step 6 - Final Touches & Ligthing Flatten Image (right click the highest Layer) and duplicate the background layer (again, right click).
Go To Actions and choose Kaleeko's Warm Color Pop Up's Lighting Effects for the top layer.
It will be VERY light but click Ok anyway. After that, set the top layer's transparency to about 14% (depends A LOT on the screenshot how much transparency you need, test what looks best on your opinion but it's pretty low).
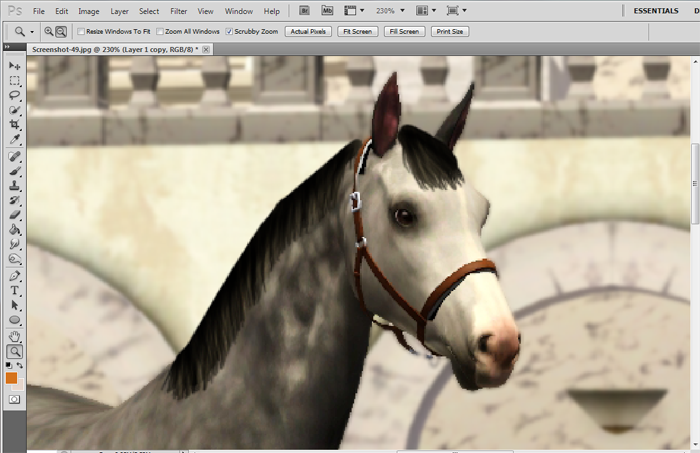
Flatten Image again. Then choose Make Adjustment Layer from Kaleeko's Action (the second highest one that says Color Balance after clicking it).
You can adjust it from the action directly, or by changing the Adjustment Layer's transparency level however you like it the best.
I chose 20% so that it's a bit warmer.
Flatten Image Once again. Optional: Then go to Filter > Artistic > Paint Daubs. Make sure the Brush Size and Sharpness is 1 and brush type is Simple. Click Ok.
This makes the screenshot sharper.
Now is time to change the Image Size to fit the forums
 After that you just save it. Remember to save it as png, the quality stays better that way.
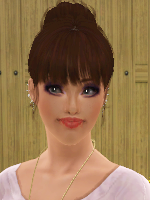
Finished:


 If i just had Photoshop, I would love to try it, but I don't "/